SNMP Monitoring
ReadyStackGo ships with a built-in SNMP agent. That lets you query the state of every deployment using the same monitoring tooling you already use for switches, servers, and UPSs — for example PRTG, Zabbix, LibreNMS, Nagios, Checkmk, or a plain snmpwalk on the command line.
What the SNMP agent gives you
Section titled “What the SNMP agent gives you”| Feature | What it does |
|---|---|
| Polling via SNMPv2c and SNMPv3 | Reads system-, environment-, product-, stack-, and service-level values via classic SNMP GET / WALK operations |
| MIB file | Hand-curated READYSTACKGO-MIB.txt, downloadable directly from the settings page |
| OID reference browser | Interactive in-app tree that lists every concrete OID for the current environment (with a copy button) |
| SNMPv3 with USM | User-based authentication and encryption — MD5/SHA1/SHA-2 plus DES/AES-128/192/256 |
| Traps | Three notification types are delivered to the configured trap receivers: failed deployments, auto-finalize, maintenance-mode changes |
| Hot reload | Configuration changes take effect without restarting the container |
What you will have at the end of this guide
Section titled “What you will have at the end of this guide”- The SNMP agent is enabled and listening on a UDP port you chose.
- You have an SNMPv2c community string or an SNMPv3 user (or both).
- You can
snmpwalka value out of ReadyStackGo. - You know how to import the MIB into PRTG (or another tool).
- You understand the three trap types and what they look like.
Step 1: Open the SNMP page
Section titled “Step 1: Open the SNMP page”Sign in as an admin and open Settings in the sidebar. The settings index has an SNMP Monitoring tile.
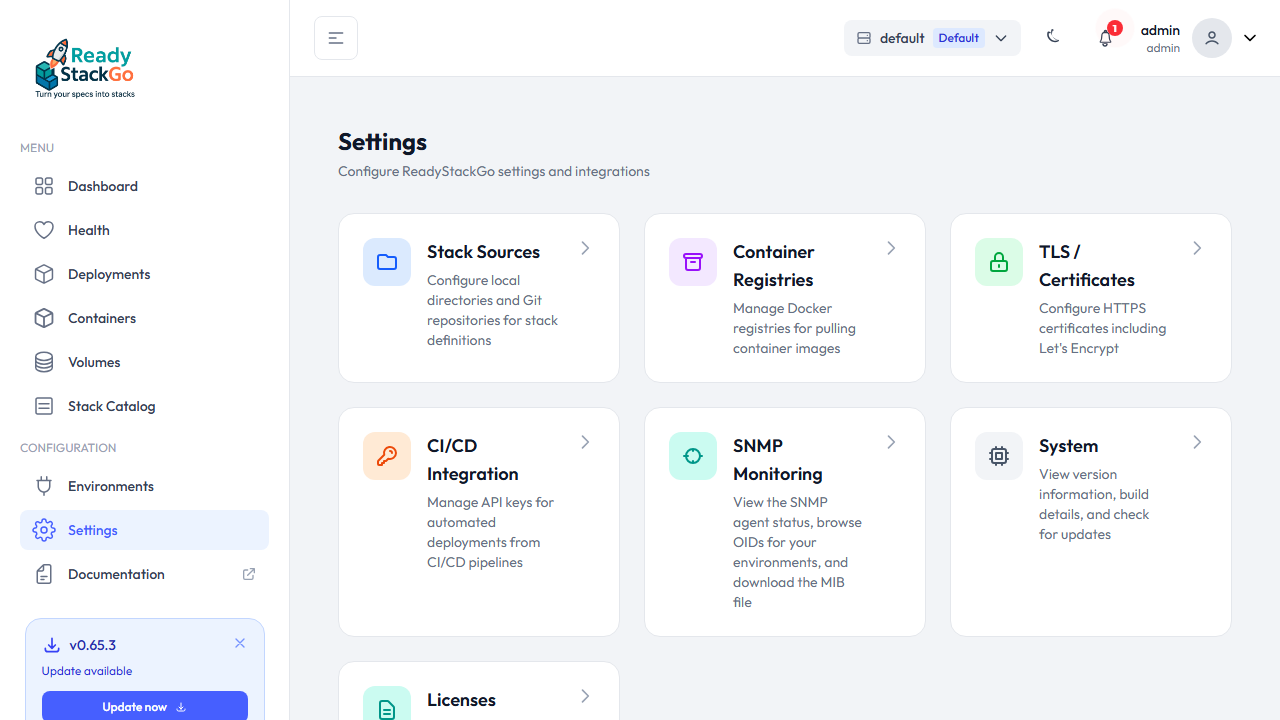
Click it — you land on /settings/snmp.
Step 2: Understand the agent configuration
Section titled “Step 2: Understand the agent configuration”The top of the page shows the configuration block. These are the fields that matter:
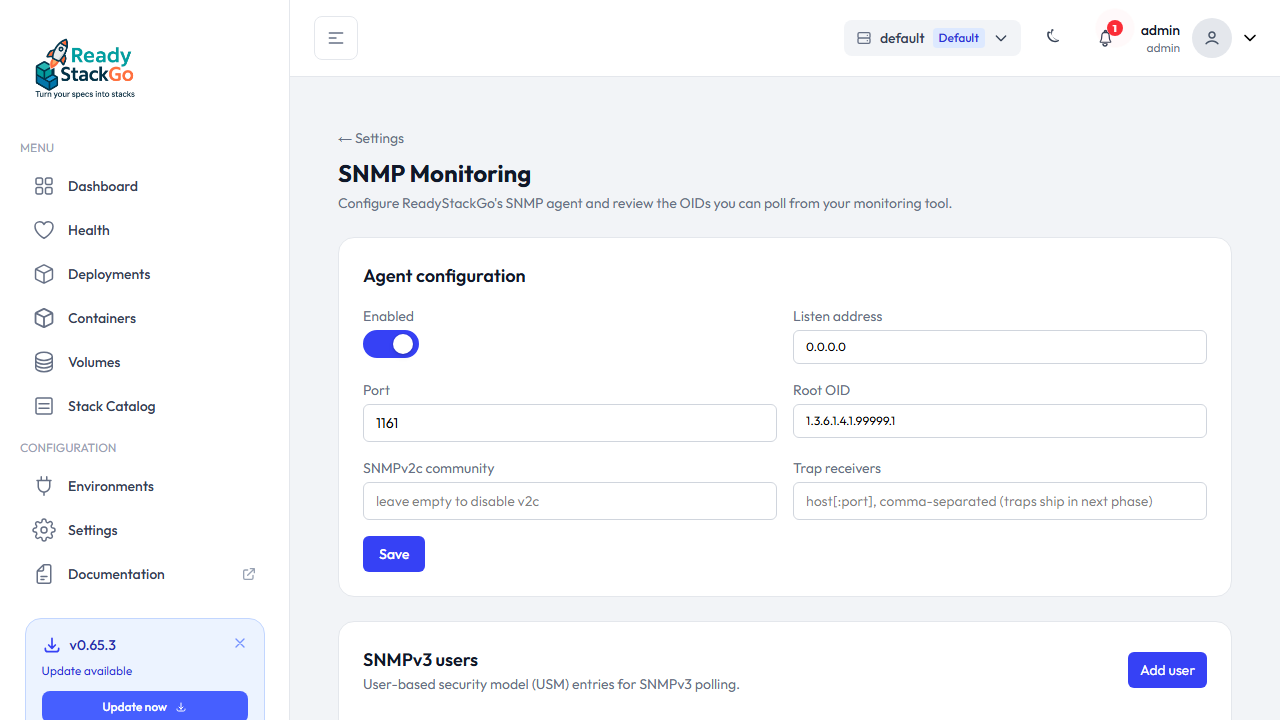
| Field | Meaning | Default |
|---|---|---|
| Enabled | Master switch for the agent. With this off, no UDP listener is opened. | off |
| Listen address | IP the agent binds to. 0.0.0.0 means every network interface inside the container. | 0.0.0.0 |
| Port | UDP port. The agent runs on 1161 inside the container (non-privileged). If you want the SNMP standard port 161 exposed on your host, map 161:1161 in your docker-compose.override.yml. | 1161 |
| Root OID | The prefix under which every ReadyStackGo value hangs. Currently uses the placeholder PEN 65846 — it will be migrated to the real IANA-assigned PEN as soon as it is granted. | 1.3.6.1.4.1.65846.1 |
| SNMPv2c community | Password-like string for v2c access. Leave it blank to disable v2c entirely and allow v3 only. | empty |
| Trap receivers | List of receivers, separated by commas, semicolons or newlines, formatted as host or host:port. The default port is 162. | empty |
Step 3: Enable the agent and set a community
Section titled “Step 3: Enable the agent and set a community”For a first test SNMPv2c is enough. It is read-only and unencrypted — fine on a trusted management network, but not safe to expose publicly.
- Click the Enabled toggle (it turns brand-coloured).
- Fill in the SNMPv2c community — choose a long, random string. We use
readonly-demofor this guide; in production, generate something properly random. - Click Save.
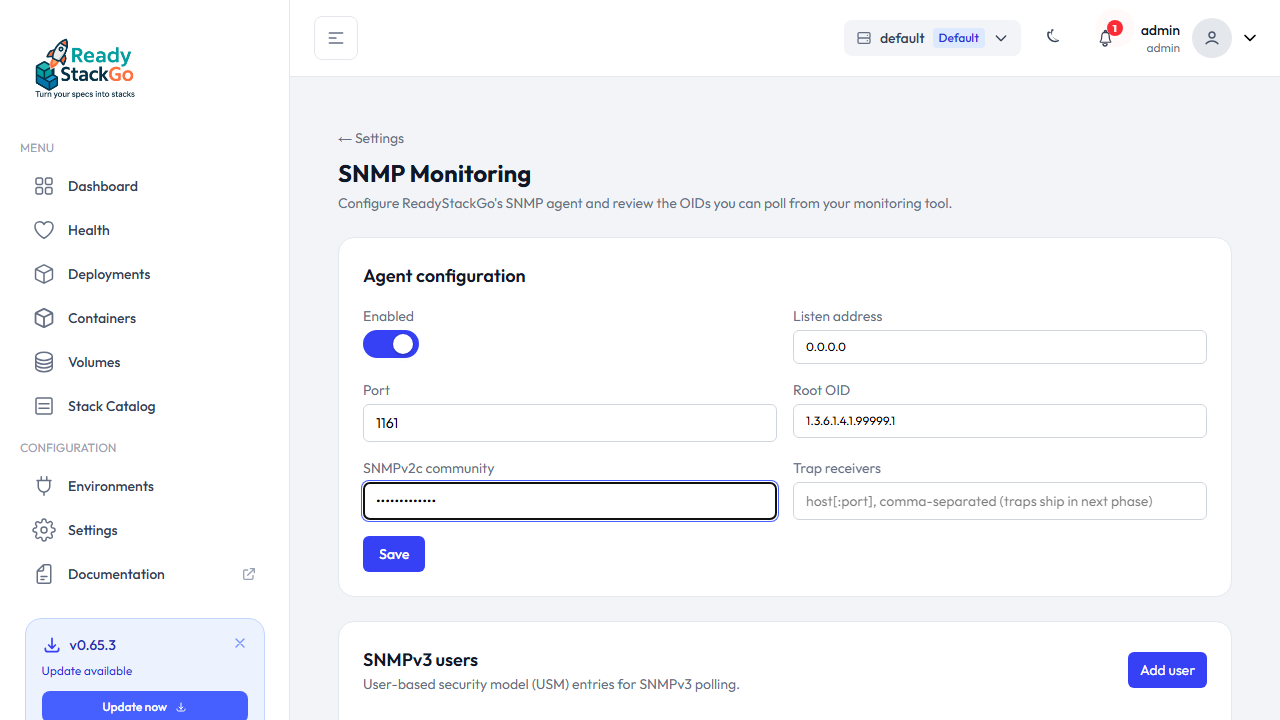
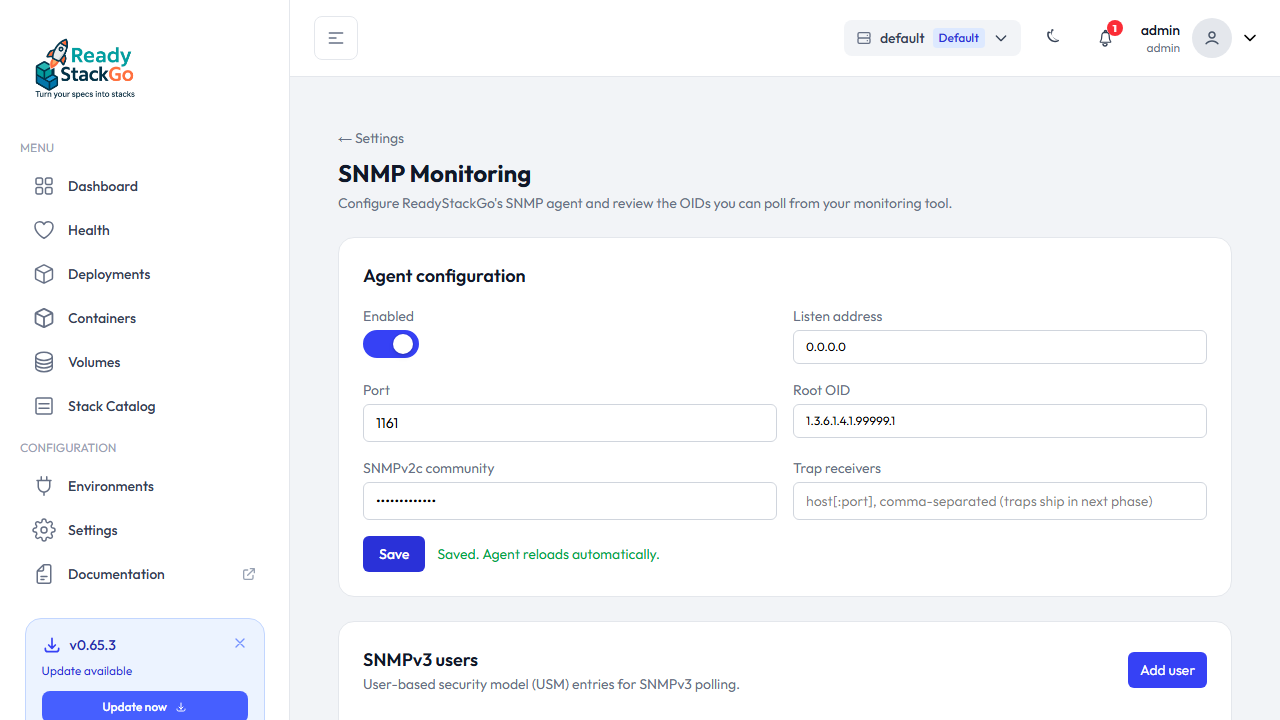
You get a green success message. The agent reloads its configuration automatically — no container restart needed.
Step 4: Poll your first value
Section titled “Step 4: Poll your first value”On a Linux/Mac host with net-snmp installed (package snmp on Debian/Ubuntu):
# Assumes ReadyStackGo runs on rsgo.local and you mapped 161:1161.snmpwalk -v 2c -c readonly-demo rsgo.local 1.3.6.1.4.1.65846.1.1You should see something like:
SNMPv2-SMI::enterprises.65846.1.1.1.0 = STRING: "0.65.3"SNMPv2-SMI::enterprises.65846.1.1.2.0 = Counter32: 3214SNMPv2-SMI::enterprises.65846.1.1.3.0 = INTEGER: 2SNMPv2-SMI::enterprises.65846.1.1.4.0 = INTEGER: 5SNMPv2-SMI::enterprises.65846.1.1.5.0 = INTEGER: 1SNMPv2-SMI::enterprises.65846.1.1.6.0 = STRING: "2026-05-20T15:42:51Z"Those are the system scalars: version, uptime in seconds, environment count, source count, DB health (1 = ok), build timestamp.
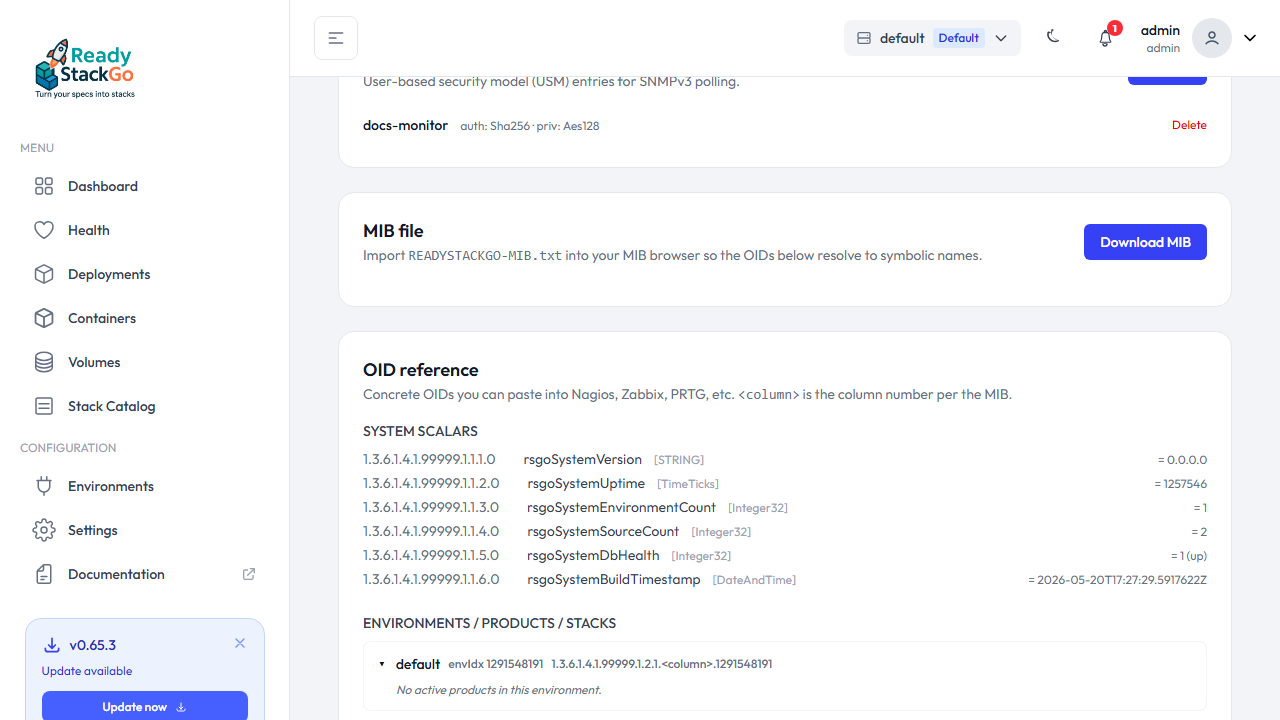
Step 5: Download the MIB file
Section titled “Step 5: Download the MIB file”So your monitoring tool can show meaningful names like rsgoProductStatusText instead of raw numeric OIDs, you need the MIB (Management Information Base).
The settings page has a MIB file block with a Download MIB button.
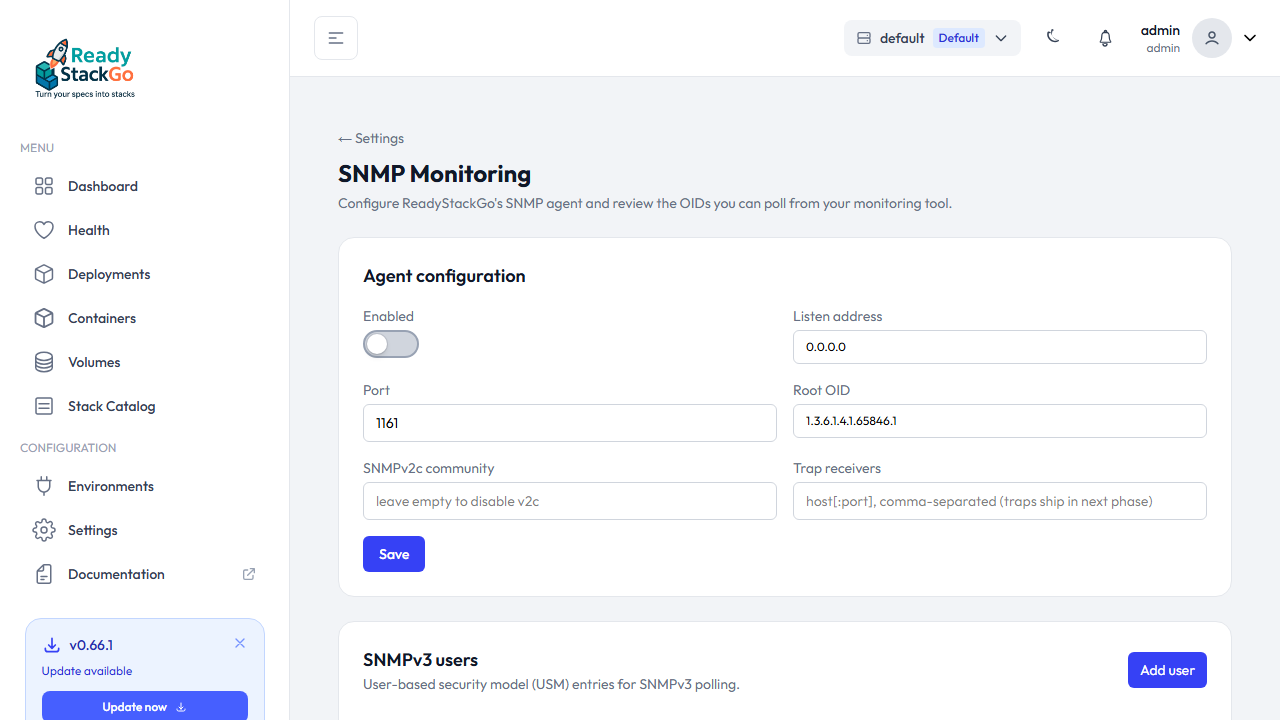
Download READYSTACKGO-MIB.txt and import it into your tool. The exact “how” depends on the tool — see the PRTG section below.
Step 6: Browse the OID reference
Section titled “Step 6: Browse the OID reference”Right below the MIB download, the UI has an interactive OID reference tree — per environment, product, stack, and service.
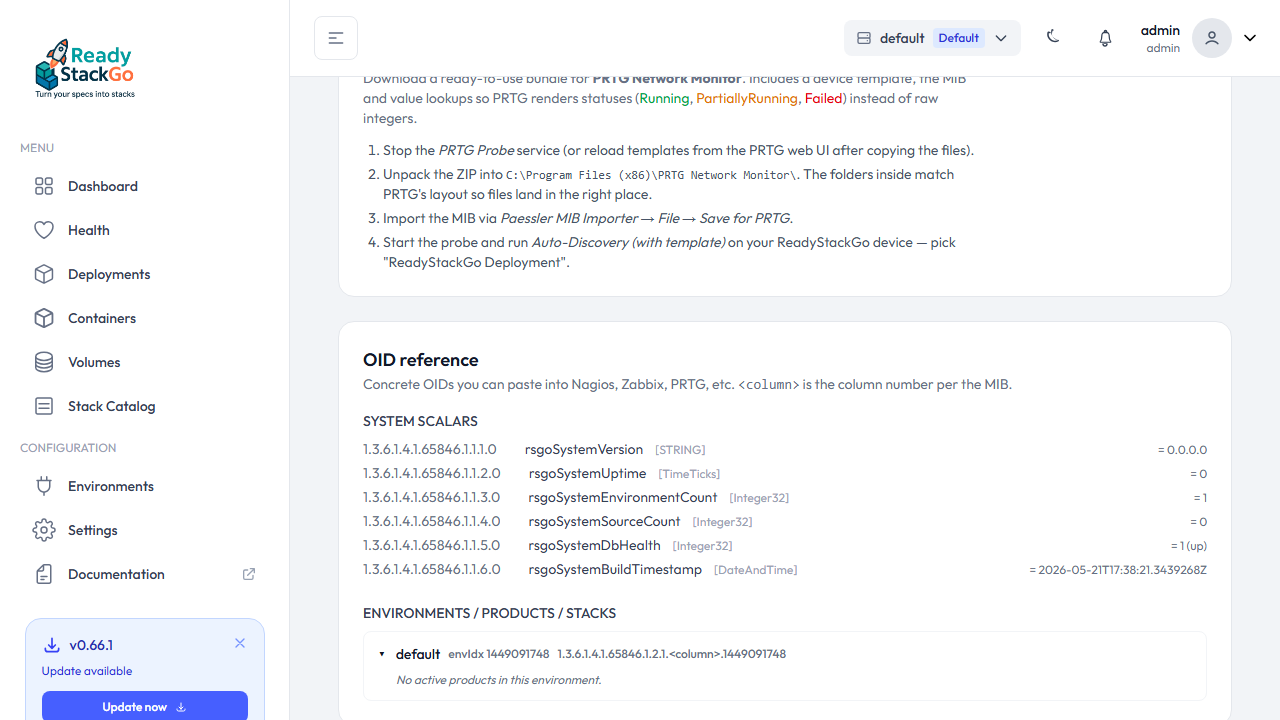
Things you can do here:
- Click the arrow to expand/collapse a level.
- Click an OID to copy it to your clipboard.
- Check the status badge to see at a glance whether the stack is
Running,Failed, orPartiallyRunning.
This is how you find the exact OID for, say, the status of one specific stack so you can paste it into PRTG.
Step 7: Add an SNMPv3 user (recommended)
Section titled “Step 7: Add an SNMPv3 user (recommended)”SNMPv2c has no encryption. As soon as your monitoring traffic crosses any untrusted network (or you operate under compliance requirements in the EU/US), switch to SNMPv3 with USM.
On the page you’ll find the SNMPv3 users block. Click Add user:
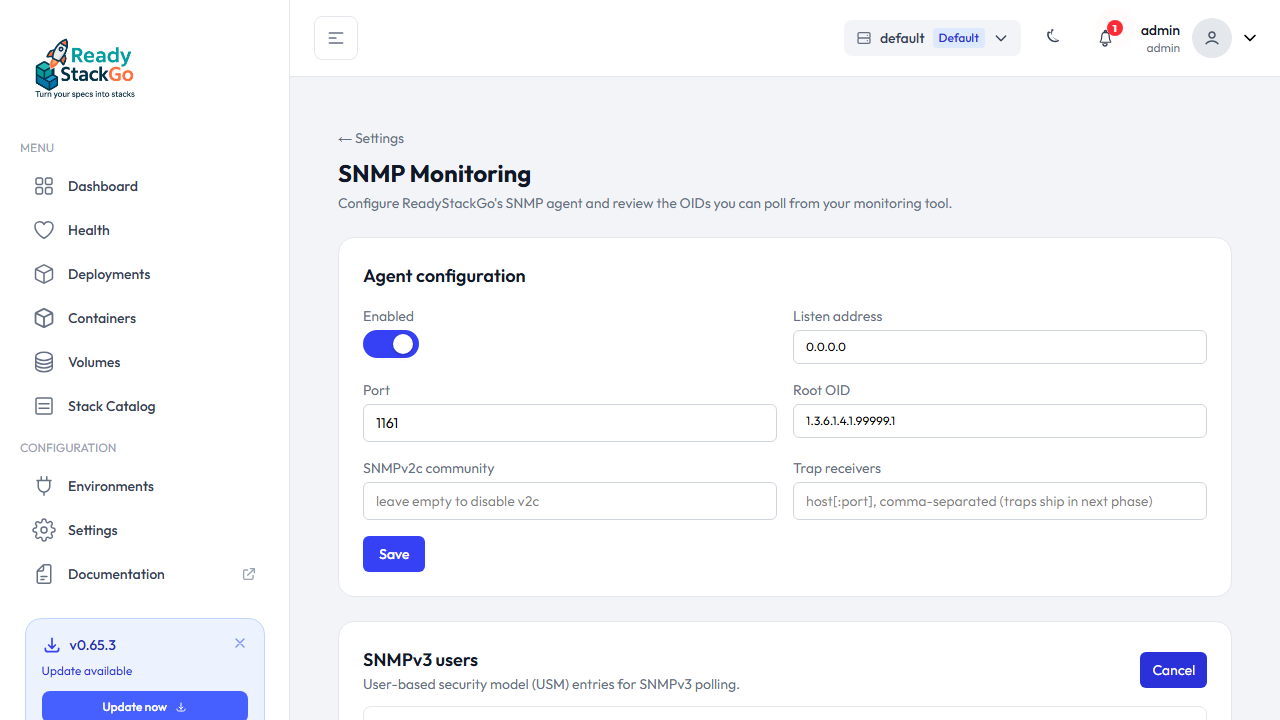
| Field | What to enter |
|---|---|
| Name | The USM user name (not an OS user). Example: docs-monitor |
| Auth protocol | Choose SHA-256 (the default). MD5 and SHA-1 are deprecated — see auth and priv algorithms. |
| Auth passphrase | At least 8 characters. The longer and more random, the better. |
| Priv protocol | Choose AES-128 or stronger. Avoid DES. |
| Priv passphrase | At least 8 characters, different from the auth passphrase. |
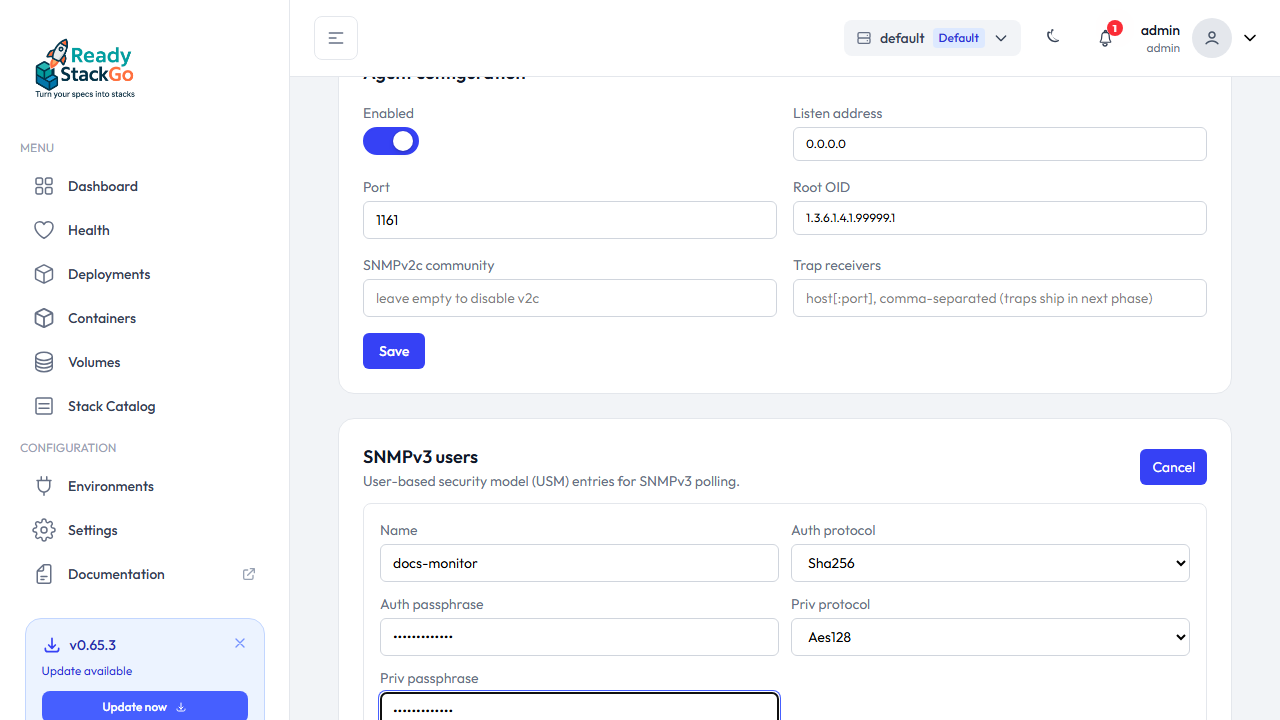
Click Add user — the user appears in the list:
Polling with SNMPv3
Section titled “Polling with SNMPv3”snmpwalk -v 3 -u docs-monitor -l authPriv \ -a SHA-256 -A 'AuthPass12345' \ -x AES -X 'PrivPass12345' \ rsgo.local 1.3.6.1.4.1.65846.1.1What the flags mean:
-v 3— protocol version 3-u docs-monitor— the USM name you set in the UI-l authPriv— security level (= both auth and priv). Other values:noAuthNoPriv,authNoPriv.-a SHA-256 -A '…'— auth algorithm + passphrase-x AES -X '…'— priv algorithm + passphrase
Step 8: Configure traps
Section titled “Step 8: Configure traps”Polling is good for periodic checks — but if a deployment breaks, you want to know immediately, not at the next poll. That’s what traps are for.
In the config block, under Trap receivers, list the receivers you want — e.g. the IP of your PRTG server:
prtg.local10.0.0.42:162One address per line (or comma-separated). Default port is 162.
Which traps exist?
Section titled “Which traps exist?”| Trap | When does it fire? | Payload |
|---|---|---|
rsgoTrapProductDeploymentFailed | A ProductDeployment.MarkAsFailed domain-event notification fires | ID, name, version, error message |
rsgoTrapProductDeploymentAutoFinalized | A stuck deployment is auto-finalized by the watchdog | ID, name, version, old and new status, number of completed/failed stacks |
rsgoTrapProductMaintenanceModeChanged | A product enters or exits maintenance | ID, name, new operation mode |
Each trap lives under 1.3.6.1.4.1.65846.1.6.<N> (1, 2, 3). The bundled VarBinds (fields) live under .7.1 to .7.7:
| VarBind | OID column | Type | Meaning |
|---|---|---|---|
rsgoTrapProductId | .7.1 | OctetString | Product deployment UUID |
rsgoTrapProductName | .7.2 | OctetString | Human-readable name |
rsgoTrapProductVersion | .7.3 | OctetString | e.g. 4.0.0-ci |
rsgoTrapStatus | .7.4 | Integer | Status code (see the MIB enum) |
rsgoTrapStatusText | .7.5 | OctetString | Status text, e.g. Failed |
rsgoTrapMessage | .7.6 | OctetString | Reason or error text |
rsgoTrapOperationMode | .7.7 | OctetString | Normal or Maintenance |
Step 9: Example — PRTG integration
Section titled “Step 9: Example — PRTG integration”Here is how to hook ReadyStackGo into PRTG Network Monitor as an SNMP sensor.
9.1 Import the MIB
Section titled “9.1 Import the MIB”PRTG uses a separate MIB importer (MIB Importer.exe in the PRTG install directory) that turns .mib files into PRTG’s .oidlib format.
- Download
READYSTACKGO-MIB.txtvia the Download MIB button. - Rename it to
READYSTACKGO-MIB.mib(PRTG expects.mib). - Start the Paessler MIB Importer.
- File → Import MIB File… → pick
READYSTACKGO-MIB.mib. - File → Save for PRTG, target folder is usually
C:\Program Files (x86)\PRTG Network Monitor\snmplibs\. - Restart the PRTG probe (or wait — the OID library is auto-loaded).
9.2 Create a sensor
Section titled “9.2 Create a sensor”- In the PRTG device tree: right-click your RSGO device → Add Sensor.
- Search for SNMP Library and pick that sensor type.
- Select the imported
READYSTACKGO-MIB.oidlib. - PRTG presents every scalar OID and table column for you to choose.
Recommended sensors:
| Sensor | OID path | What it measures |
|---|---|---|
| System health | rsgoSystem → rsgoDbHealth | 1=ok, anything else is a problem |
| Uptime | rsgoSystem → rsgoUptimeSeconds | Seconds since last container start |
| Environment health | rsgoEnvironmentTable | Number of healthy/unhealthy stacks per environment |
| Product status | rsgoProductTable → rsgoProductStatus | Status enum per product (1=Running, 4=Failed, …) |
| Service running | rsgoServiceTable → rsgoServiceRunning | Boolean (1/0) per container |
9.3 Receiving traps in PRTG
Section titled “9.3 Receiving traps in PRTG”- Put the PRTG server’s IP into Trap receivers in the ReadyStackGo UI.
- In PRTG, add an SNMP Trap Receiver sensor on the probe (the sensor listens on port 162).
- Optionally define a filter on OID
1.3.6.1.4.1.65846.1.6.*so only ReadyStackGo traps count toward the sensor.
Troubleshooting
Section titled “Troubleshooting”| Symptom | Cause | Fix |
|---|---|---|
snmpwalk times out | Port unreachable / firewall blocking UDP | Check docker compose ps (port mapping correct?), iptables -L, ICMP to host |
Authentication failure on v3 | Passphrase or algorithm mismatch | In the UI: delete and re-add the user. On the client: match -a and -x flags to the UI values |
noAccess on v2c | Wrong community string or community field left blank → v2c disabled | Verify the UI value, set the community, Save |
| OIDs show numbers, not names | MIB not (correctly) imported | Re-download and place the MIB in the right directory for your tool |
Agent is not enabled in the status block | Enabled toggle is off | Toggle on, Save |
| Trap never arrives | Wrong receiver address, port blocked, or receiver daemon not listening | Check UDP/162 on the receiver (`ss -ulpn |
Glossary
Section titled “Glossary”| Term | Explanation |
|---|---|
| SNMP | Simple Network Management Protocol. A UDP-based standard for reading and receiving status values from network and server devices. |
| OID | Object Identifier. A unique dot-separated numeric path like 1.3.6.1.4.1.65846.1.1.1.0. Every measurable value has its own OID. |
| MIB | Management Information Base. A text file that maps OIDs to symbolic names, data types, and descriptions. |
| Trap | An agent-initiated “push” — the agent contacts you on its own as soon as something happens (no polling needed). |
| Community string | The v1/v2c “password”. Sent in clear text — only use on trusted networks. |
| USM | User-based Security Model. The SNMPv3 security model with named users, auth, and priv algorithms. |
| Auth / Priv | Auth = packet authenticity check (HMAC). Priv = encryption of the payload. |
| PEN | Private Enterprise Number — the OID root 1.3.6.1.4.1.<X> any company can request from IANA. ReadyStackGo currently uses 65846 (IANA-assigned 2026-05-21). |
Read on
Section titled “Read on”- One-click PRTG integration — bundle download, step-by-step setup
- PRTG HTTP sensor (5-minute setup) — lowest-friction option: one URL, one sensor
- SNMP basics & history — how SNMP works, why v1/v2c/v3 exist
- Security models (community vs. USM) — pros and cons to help you pick
- Auth and Priv algorithms — which algorithm is still safe today