Initial Setup
When you start ReadyStackGo for the first time, a two-phase setup process guides you through the initial configuration: the Wizard for admin account creation, followed by the Onboarding for environment and stack source setup.
Overview
Section titled “Overview”| Phase | Purpose | Required |
|---|---|---|
| Wizard | Create admin account | Yes (5-minute timeout) |
| Onboarding Step 1 | Create organization | Yes |
| Onboarding Step 2 | Add Docker environment | Skippable |
| Onboarding Step 3 | Select stack sources | Skippable |
| Onboarding Step 4 | Configure container registries | Skippable |
Phase 1: Admin Creation (Wizard)
Section titled “Phase 1: Admin Creation (Wizard)”On first start, ReadyStackGo opens the Wizard page. You have 5 minutes to create the admin account before the setup window locks.
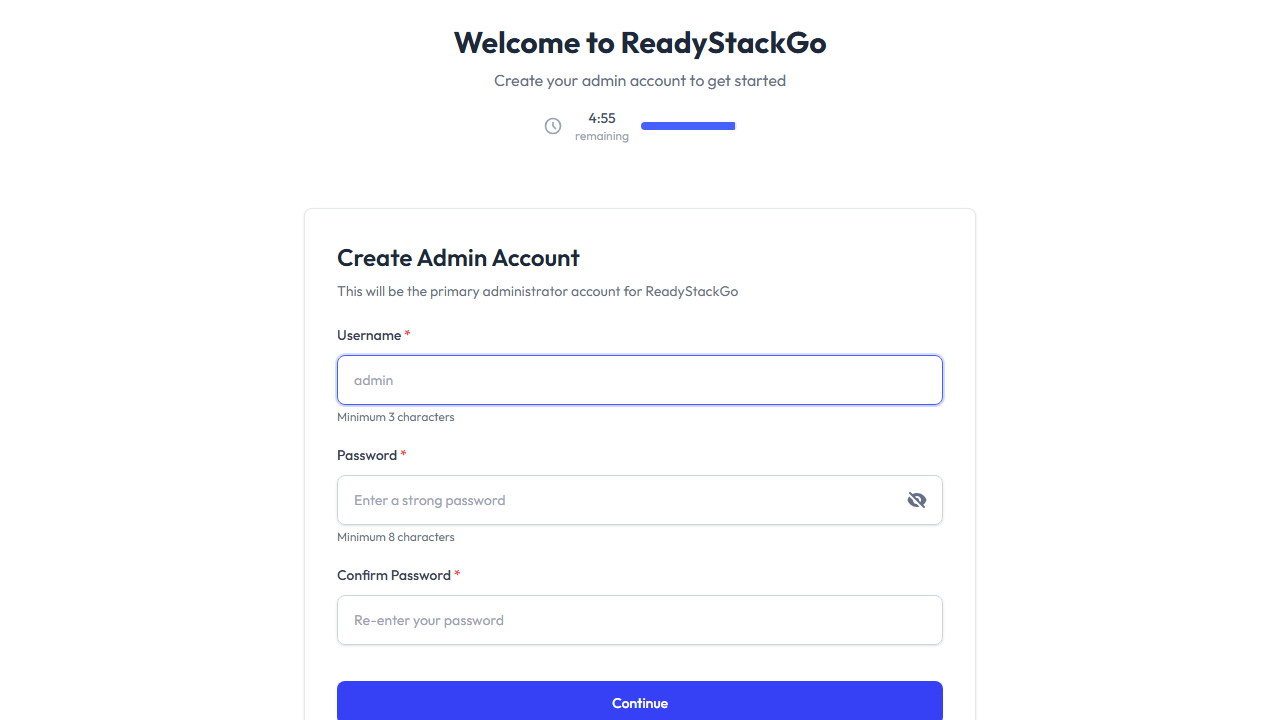
Enter a username and a strong password (minimum 8 characters), then confirm the password.
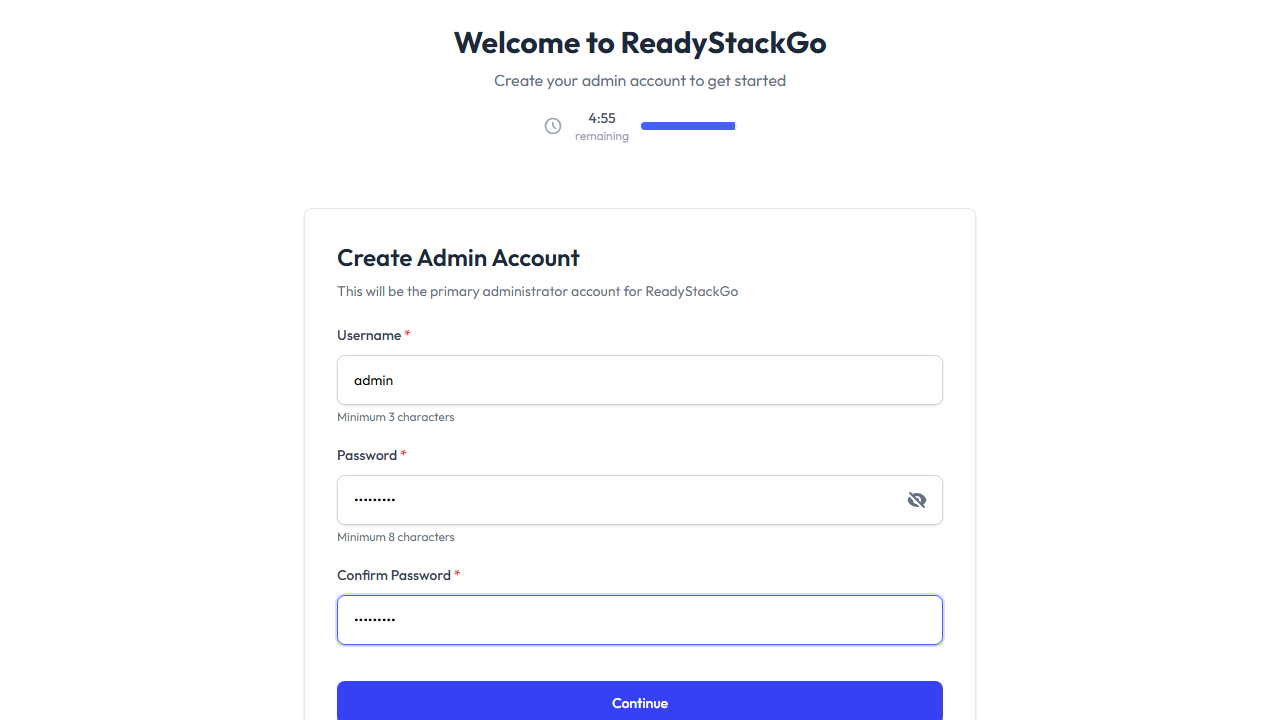
Click Continue to create the admin account. You’ll be automatically logged in and redirected to the onboarding.
Phase 2: Guided Onboarding
Section titled “Phase 2: Guided Onboarding”Step 1: Create Organization
Section titled “Step 1: Create Organization”Every ReadyStackGo instance belongs to one organization. Enter an Organization ID (lowercase, letters/numbers/hyphens) and a Display Name.
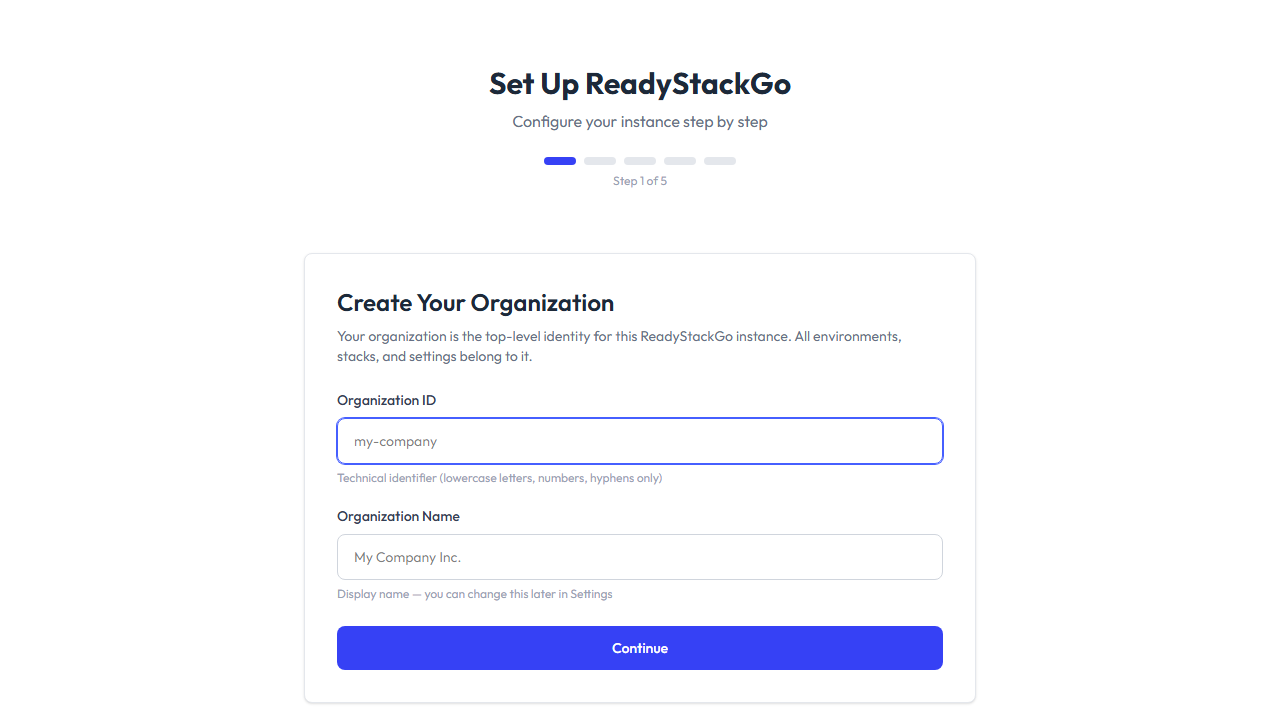
This step is mandatory — you cannot skip it.
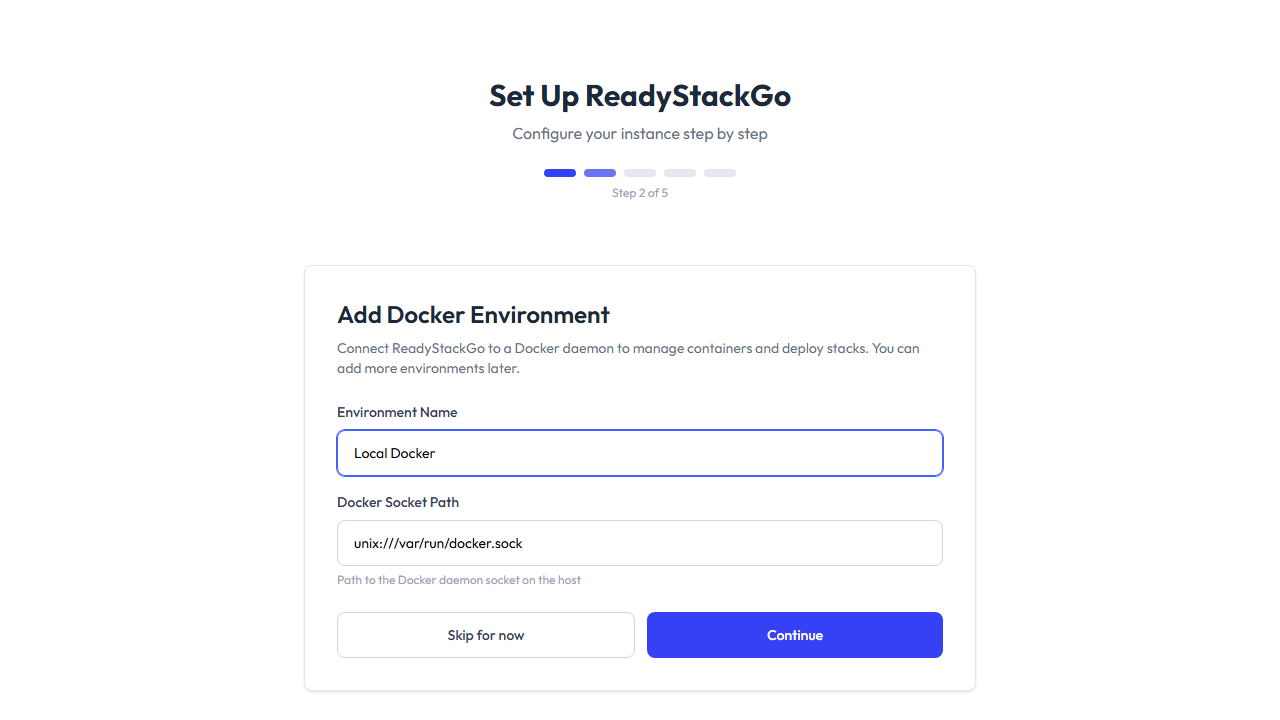
Step 2: Add Docker Environment
Section titled “Step 2: Add Docker Environment”Connect ReadyStackGo to a Docker daemon. The Docker socket path is auto-detected from the server.
Step 3: Select Stack Sources
Section titled “Step 3: Select Stack Sources”Choose curated stack sources to add to your instance. Featured sources are pre-selected. These provide ready-to-deploy stack definitions.
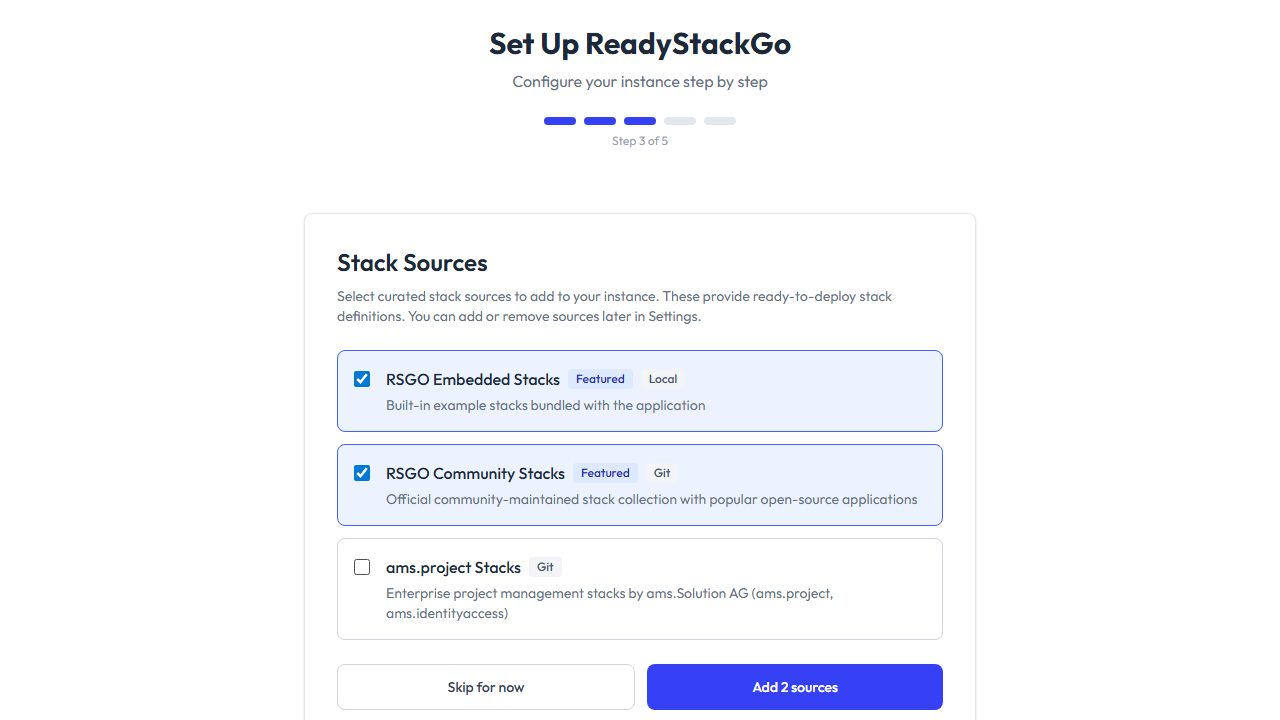
You can add or remove stack sources later in Settings → Stack Sources.
Step 4: Container Registries
Section titled “Step 4: Container Registries”ReadyStackGo detects container registries used by your stack sources and checks access. Public registries are automatically verified. For private registries, enter credentials.
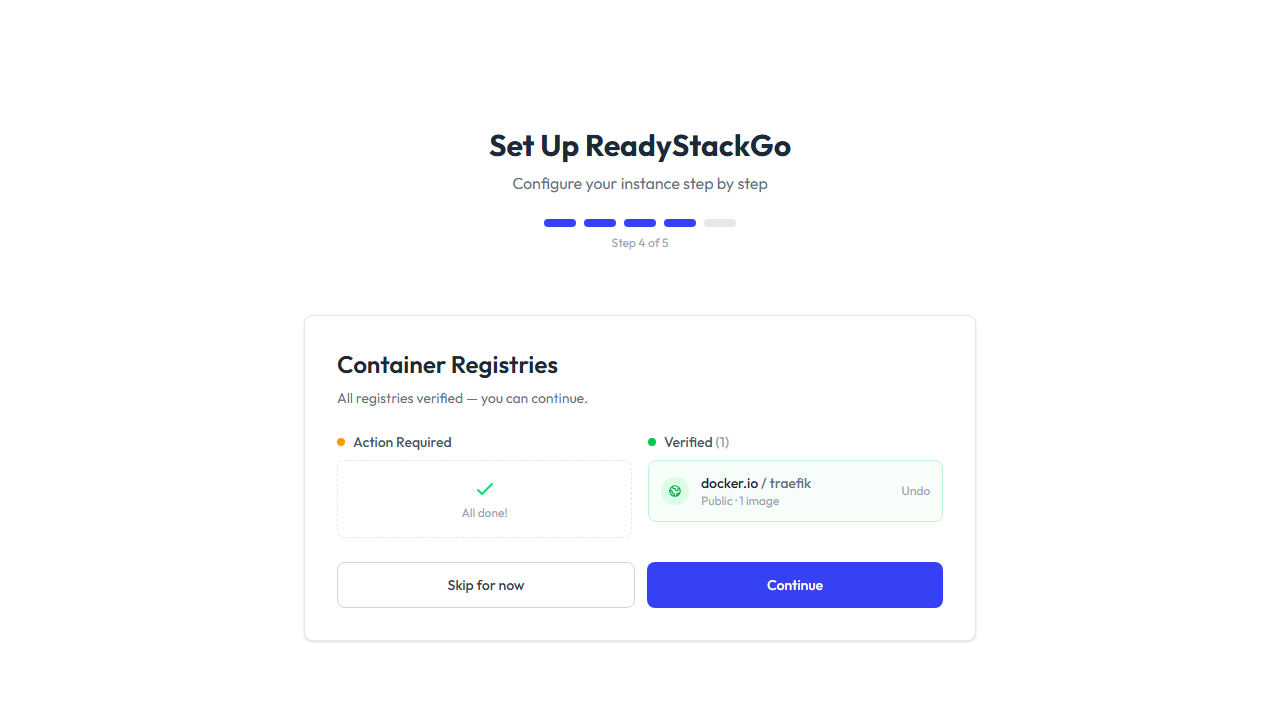
You can skip this step and configure registries later in Settings → Container Registries.
Step 5: Setup Complete
Section titled “Step 5: Setup Complete”The completion screen shows a summary of what was configured. Skipped items are marked accordingly.
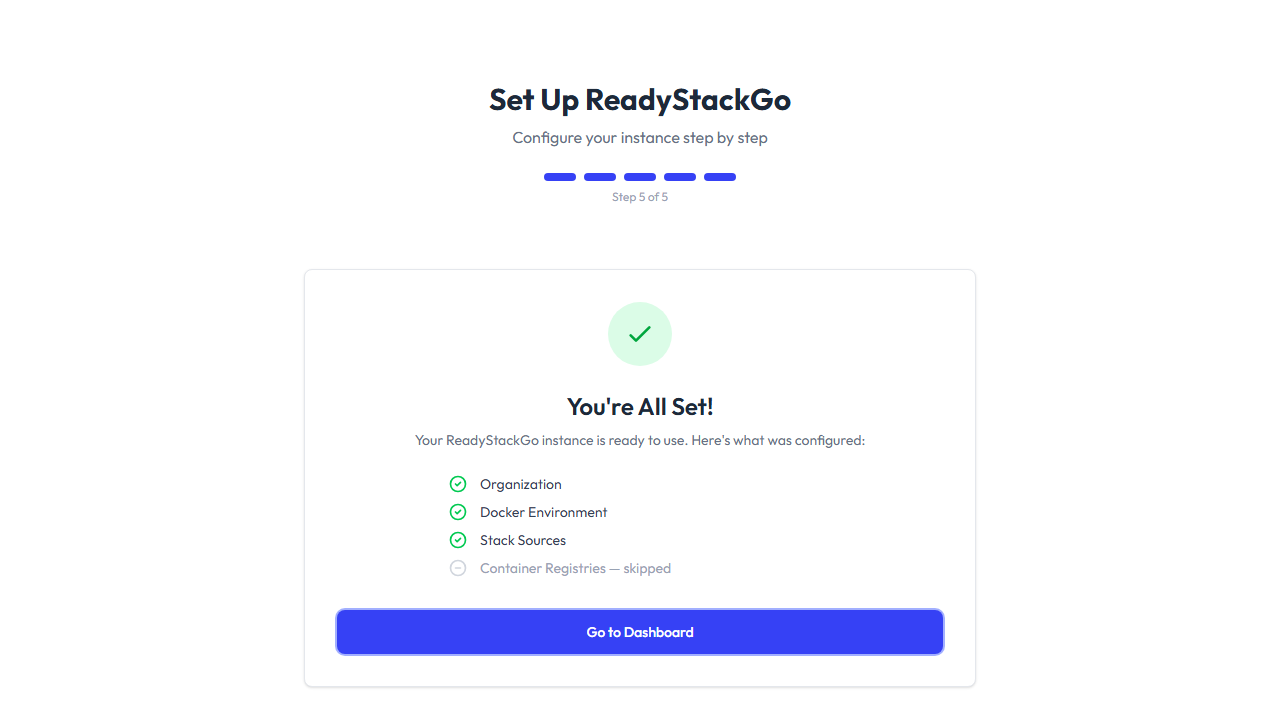
Click Go to Dashboard to start using ReadyStackGo.

After Setup
Section titled “After Setup”All settings configured during onboarding can be changed later:
- Organization: Settings → Organization
- Environments: Settings → Environments
- Stack Sources: Settings → Stack Sources
- Container Registries: Settings → Container Registries