Stack Deployment
This guide shows you how to select, configure, and deploy a stack from the catalog. The screenshots illustrate each step in detail.
Overview
Section titled “Overview”Deploying a stack in ReadyStackGo is done in a few simple steps:
- Log in to the system
- Navigate to the Stack Catalog
- Select a product
- Configure variables
- Start deployment
- Monitor status
Step 1: Login
Section titled “Step 1: Login”Open the ReadyStackGo web interface in your browser. You will be greeted with the login screen where you enter your credentials.
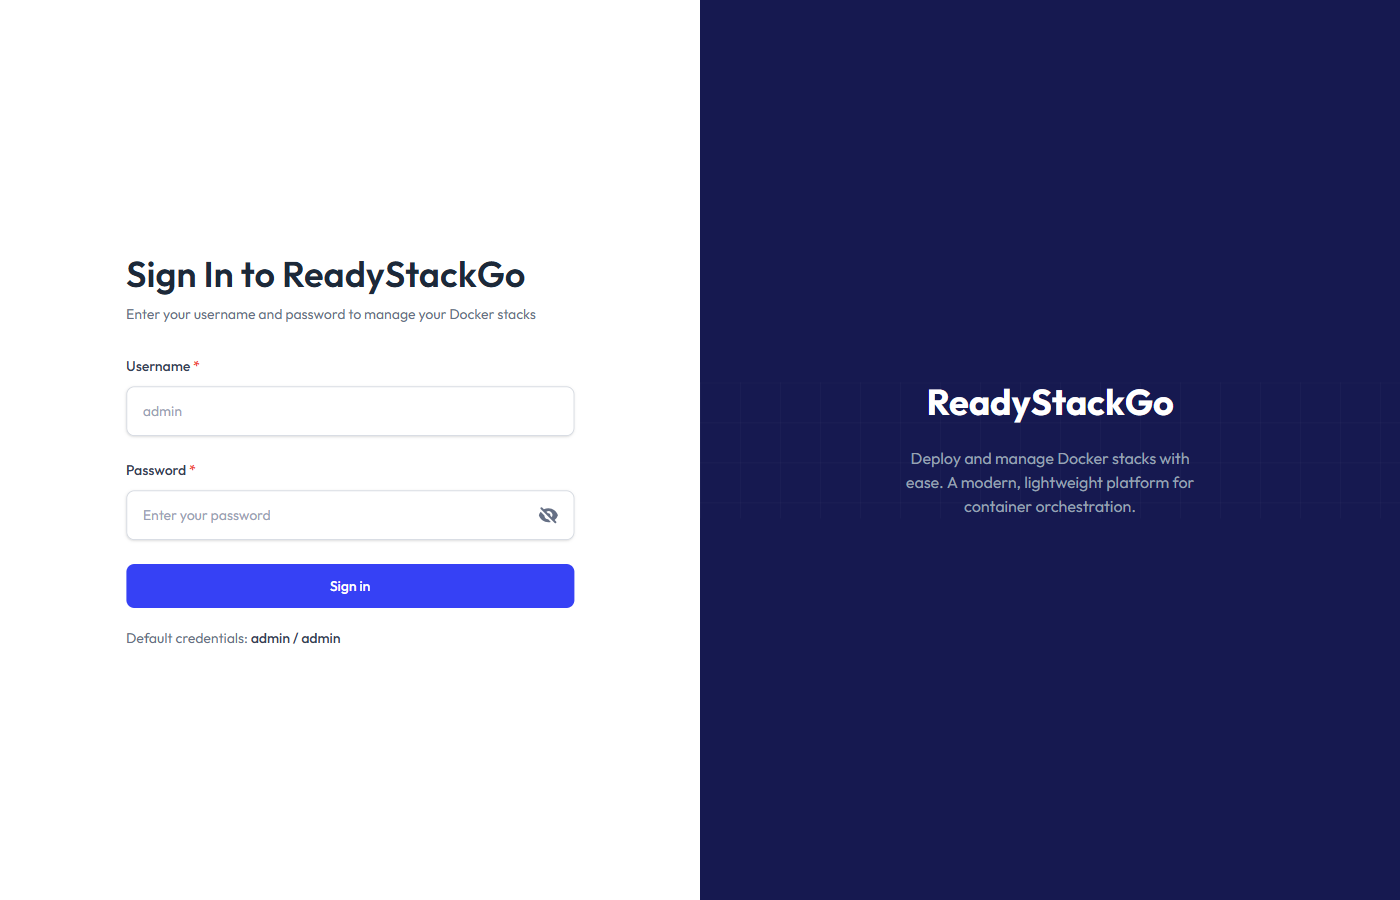
- Enter your username
- Enter your password
- Click Sign In
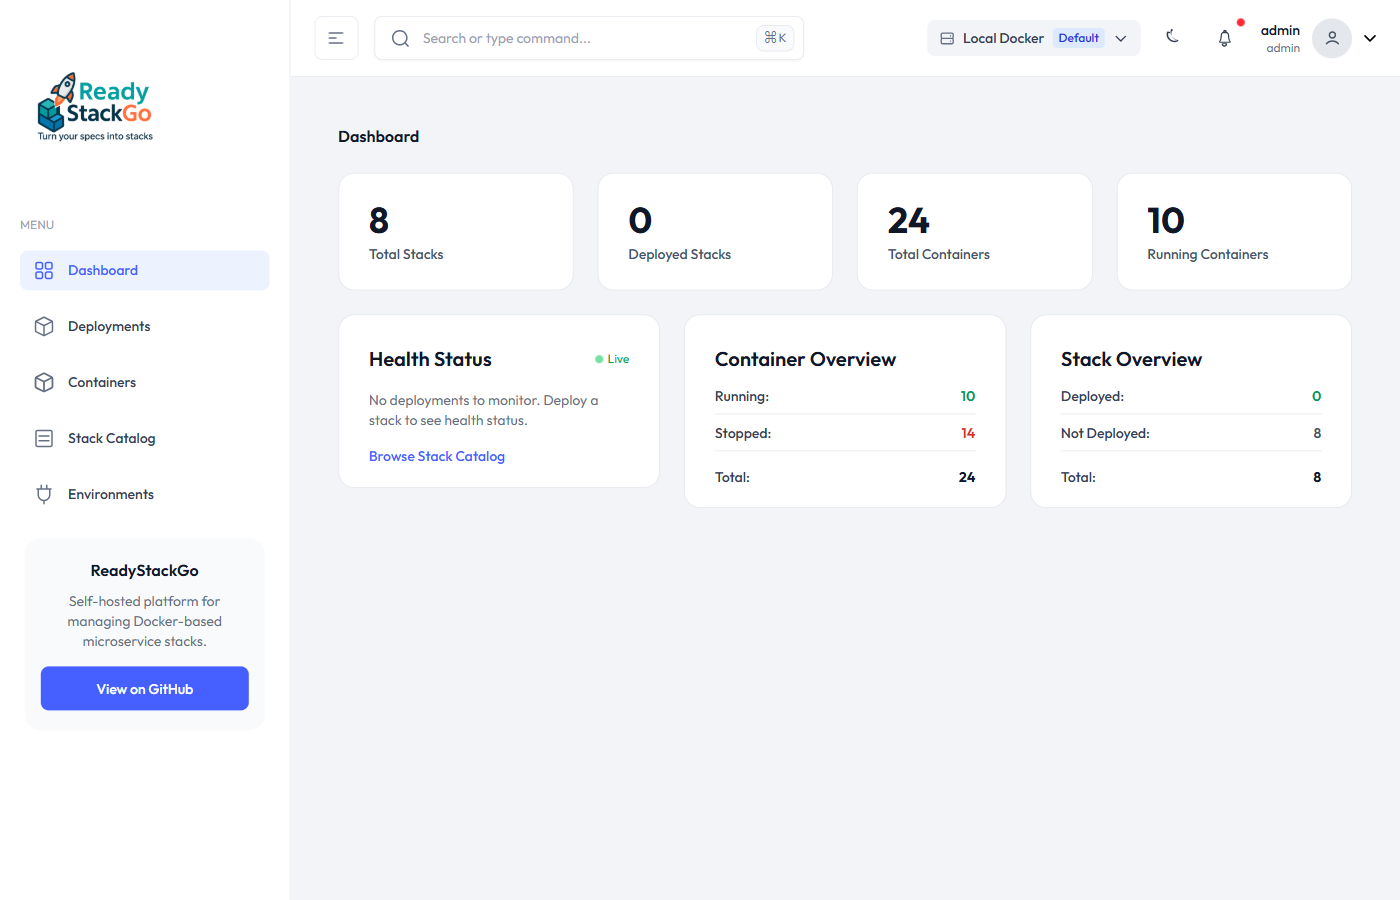
Step 2: Dashboard
Section titled “Step 2: Dashboard”After successful login, you will be taken to the dashboard. Here you can see an overview of your environments and active deployments.
Step 3: Stack Catalog
Section titled “Step 3: Stack Catalog”Navigate to the Stack Catalog via the main menu. The catalog shows all available products that you can deploy.
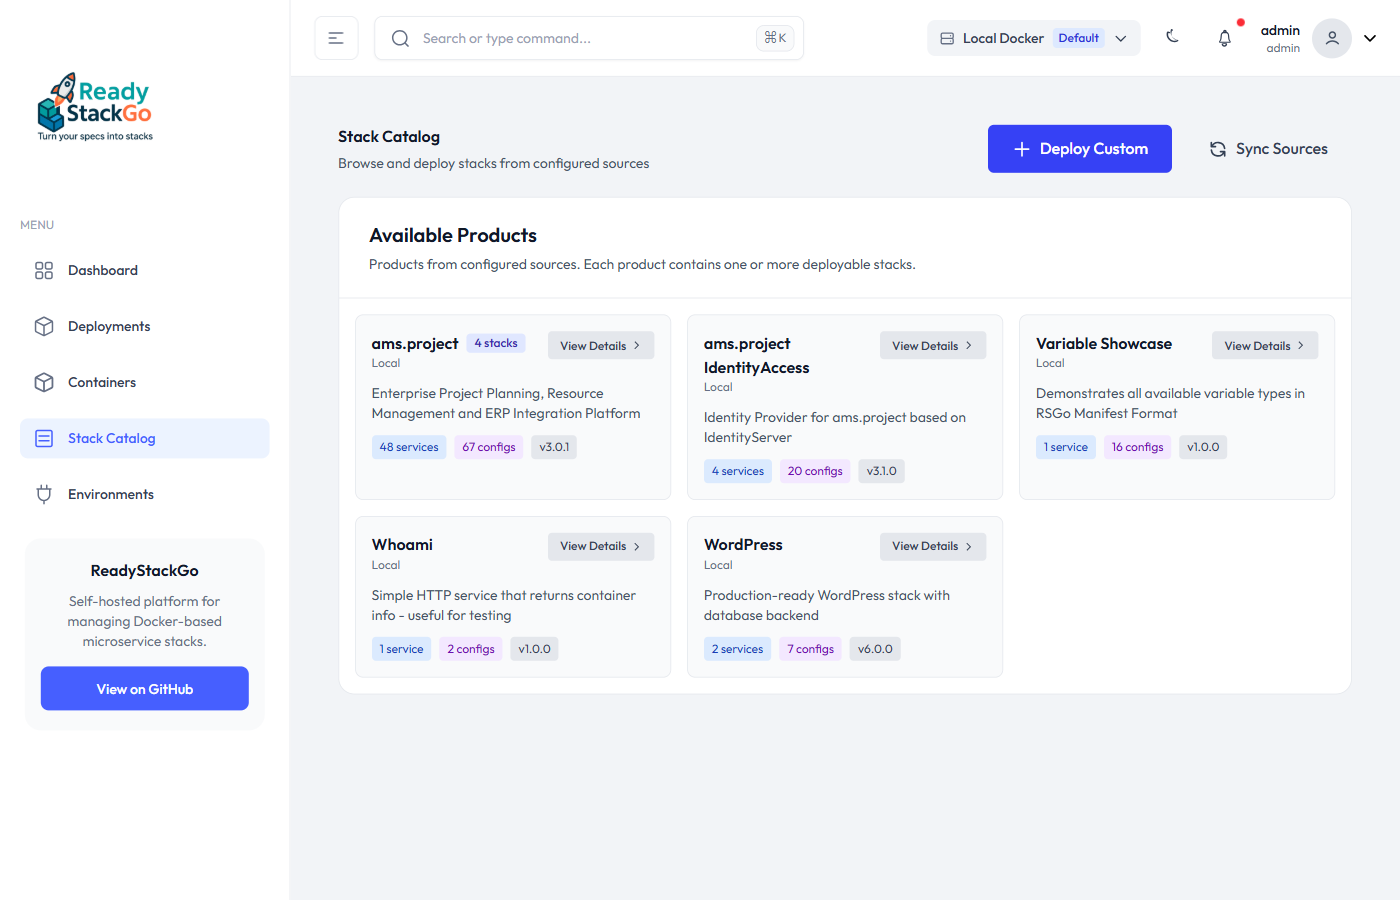
Each product shows:
- Name and Version
- Description of the product
- Category for easy filtering
- Tags for search
Step 4: Product Details
Section titled “Step 4: Product Details”Click on a product to open the detail page. Here you will find detailed information and available versions.
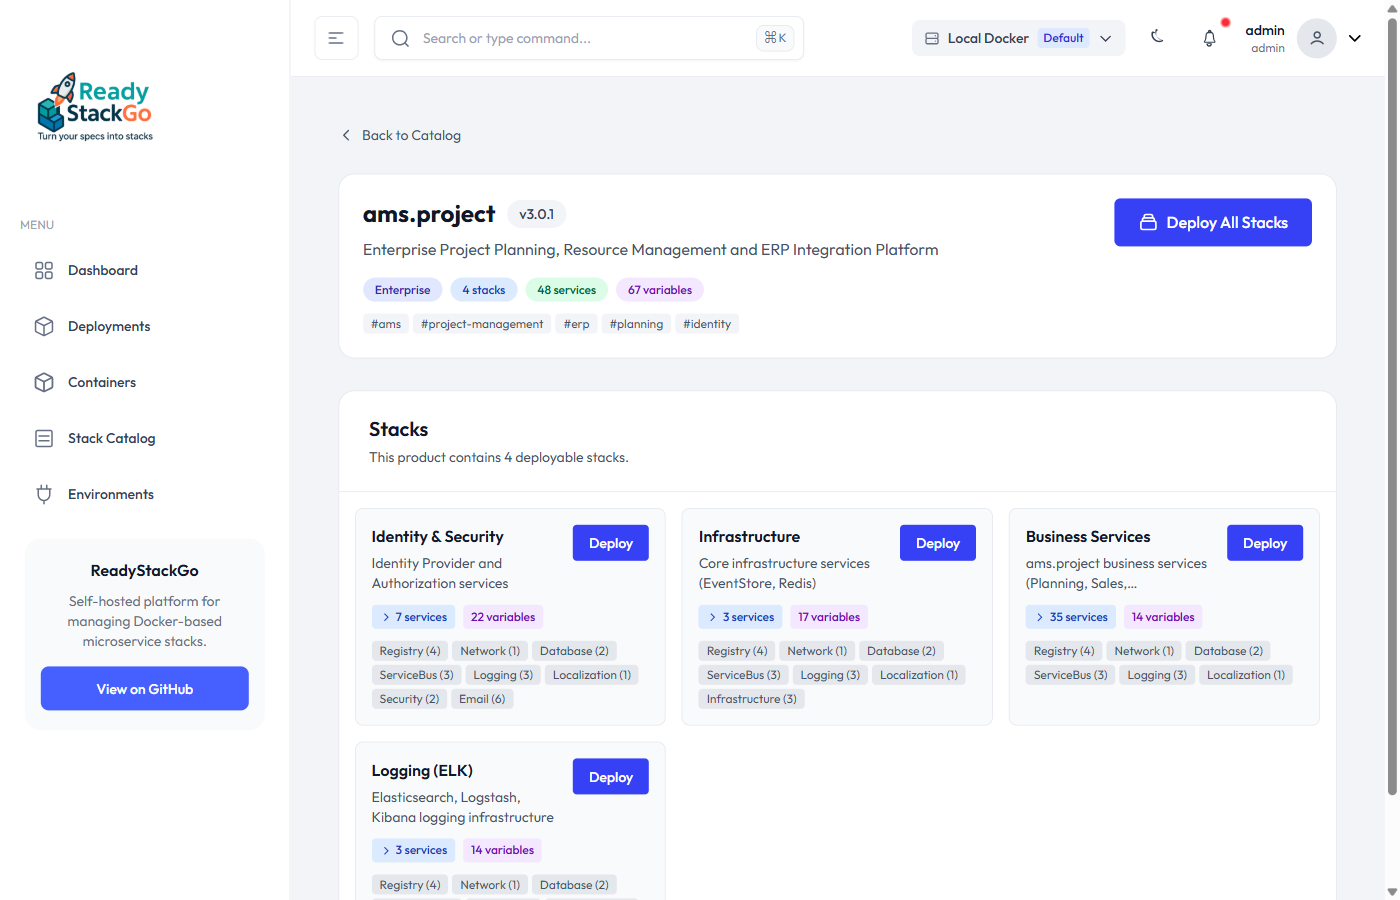
On this page you can:
- Read the full product description
- See the included stacks
- Select a version
- Proceed to deployment with Deploy
Step 5: Configure Deployment
Section titled “Step 5: Configure Deployment”On the deploy page, you configure all necessary variables for your deployment. Variables are organized by groups.

Stack Name
Section titled “Stack Name”Enter a unique Stack Name. This name is used to identify the deployment and must be unique.
Configure Variables
Section titled “Configure Variables”Fill in the required variables. Different input fields are displayed depending on the variable type:
- String: Simple text field
- Password: Masked password field
- Port: Port selection with validation (1-65535)
- Boolean: Toggle switch
- Select: Dropdown selection
- Connection String: Builder dialog for database connections
Start Deployment
Section titled “Start Deployment”Once all required fields are filled, click the Deploy button in the sidebar. The deployment will start and you will be redirected to the deployments overview.
Step 6: Monitor Deployments
Section titled “Step 6: Monitor Deployments”In the Deployments overview, you can see all active and past deployments with their current status.
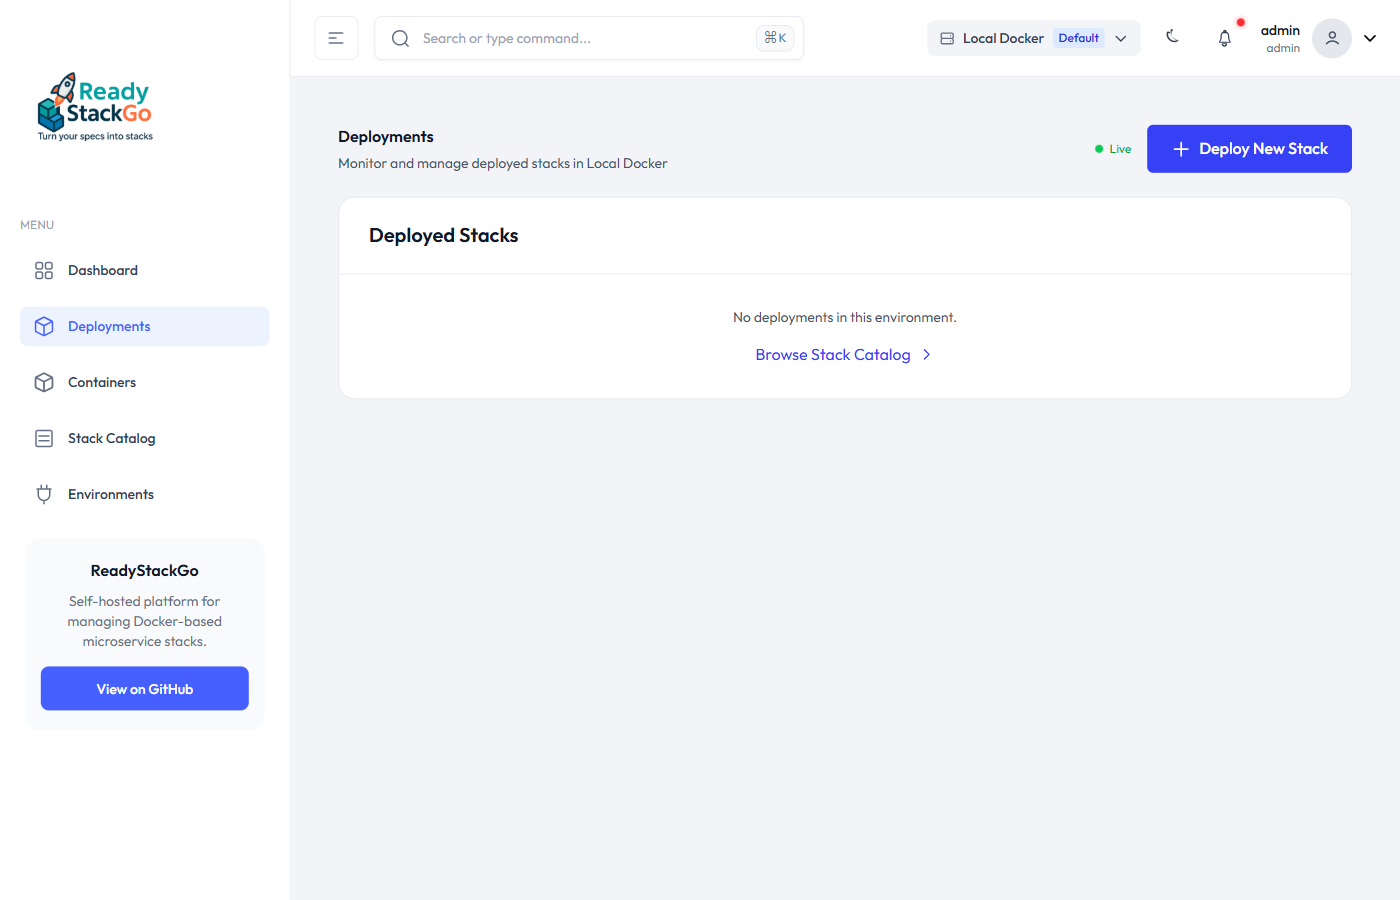
For each deployment you see:
- Stack Name: The name you assigned
- Status: Running, Stopped, Error
- Services: Number of containers
- Environment: The target environment
Next Steps
Section titled “Next Steps”After a successful deployment, you can:
- Monitor stack status in real-time
- View container logs
- Stop or restart the stack
- Change variables and redeploy
- Delete the stack